
Using Ollama and Gemma 3 with Continue: A Developer's Guide

As developers, we want tools that respect our privacy, let us customize our experience, and integrate seamlessly into our workflows. Continue paired with Ollama offers exactly that—a way to run custom AI coding assistants locally.
The benefits of this include
- Data privacy: your code stays on your machine, not sent to third-party servers
- Full control: choose exactly which models you want to use for different coding tasks
- Customization: configure rules, prompts, docs, etc. to tailor the assistant to your needs
- No subscription costs: use powerful open-source models without recurring fees
- Offline usage: work without an internet connection when needed
In this guide, I'll walk you through setting up Continue with Ollama, so you can build a development environment that respects your workflow.
What you'll need
- A computer capable of running LLMs locally (see hardware requirements below)
- A supported IDE with the Continue extension:
- A Continue account (https://hub.continue.dev/signup)
Step 1: Install Ollama
Ollama lets you run powerful language models locally. Installation is straightforward:
MacOS/Linux
curl -fsSL https://ollama.ai/install.sh | sh
Windows
Download the installer from Ollama.
Step 2: Pull a code-optimized model
After installation, pull a model that works well for coding. I find that Google DeepMind's Gemma 3 4B represents a sweet spot for many developers.
ollama pull gemma3:4B
This will download the model to your local machine. You can verify it works by running:
ollama run gemma3:4B "Write a function to calculate the factorial of 5"
Step 3: Set up your Continue account
Before creating your assistant, you'll need to:
- Visit https://hub.continue.dev/signup to create your account
- Verify your email address
- Log in to access Continue Hub
Step 4: Create a new assistant
Once you have a Continue Hub account, you can create a new assistant:
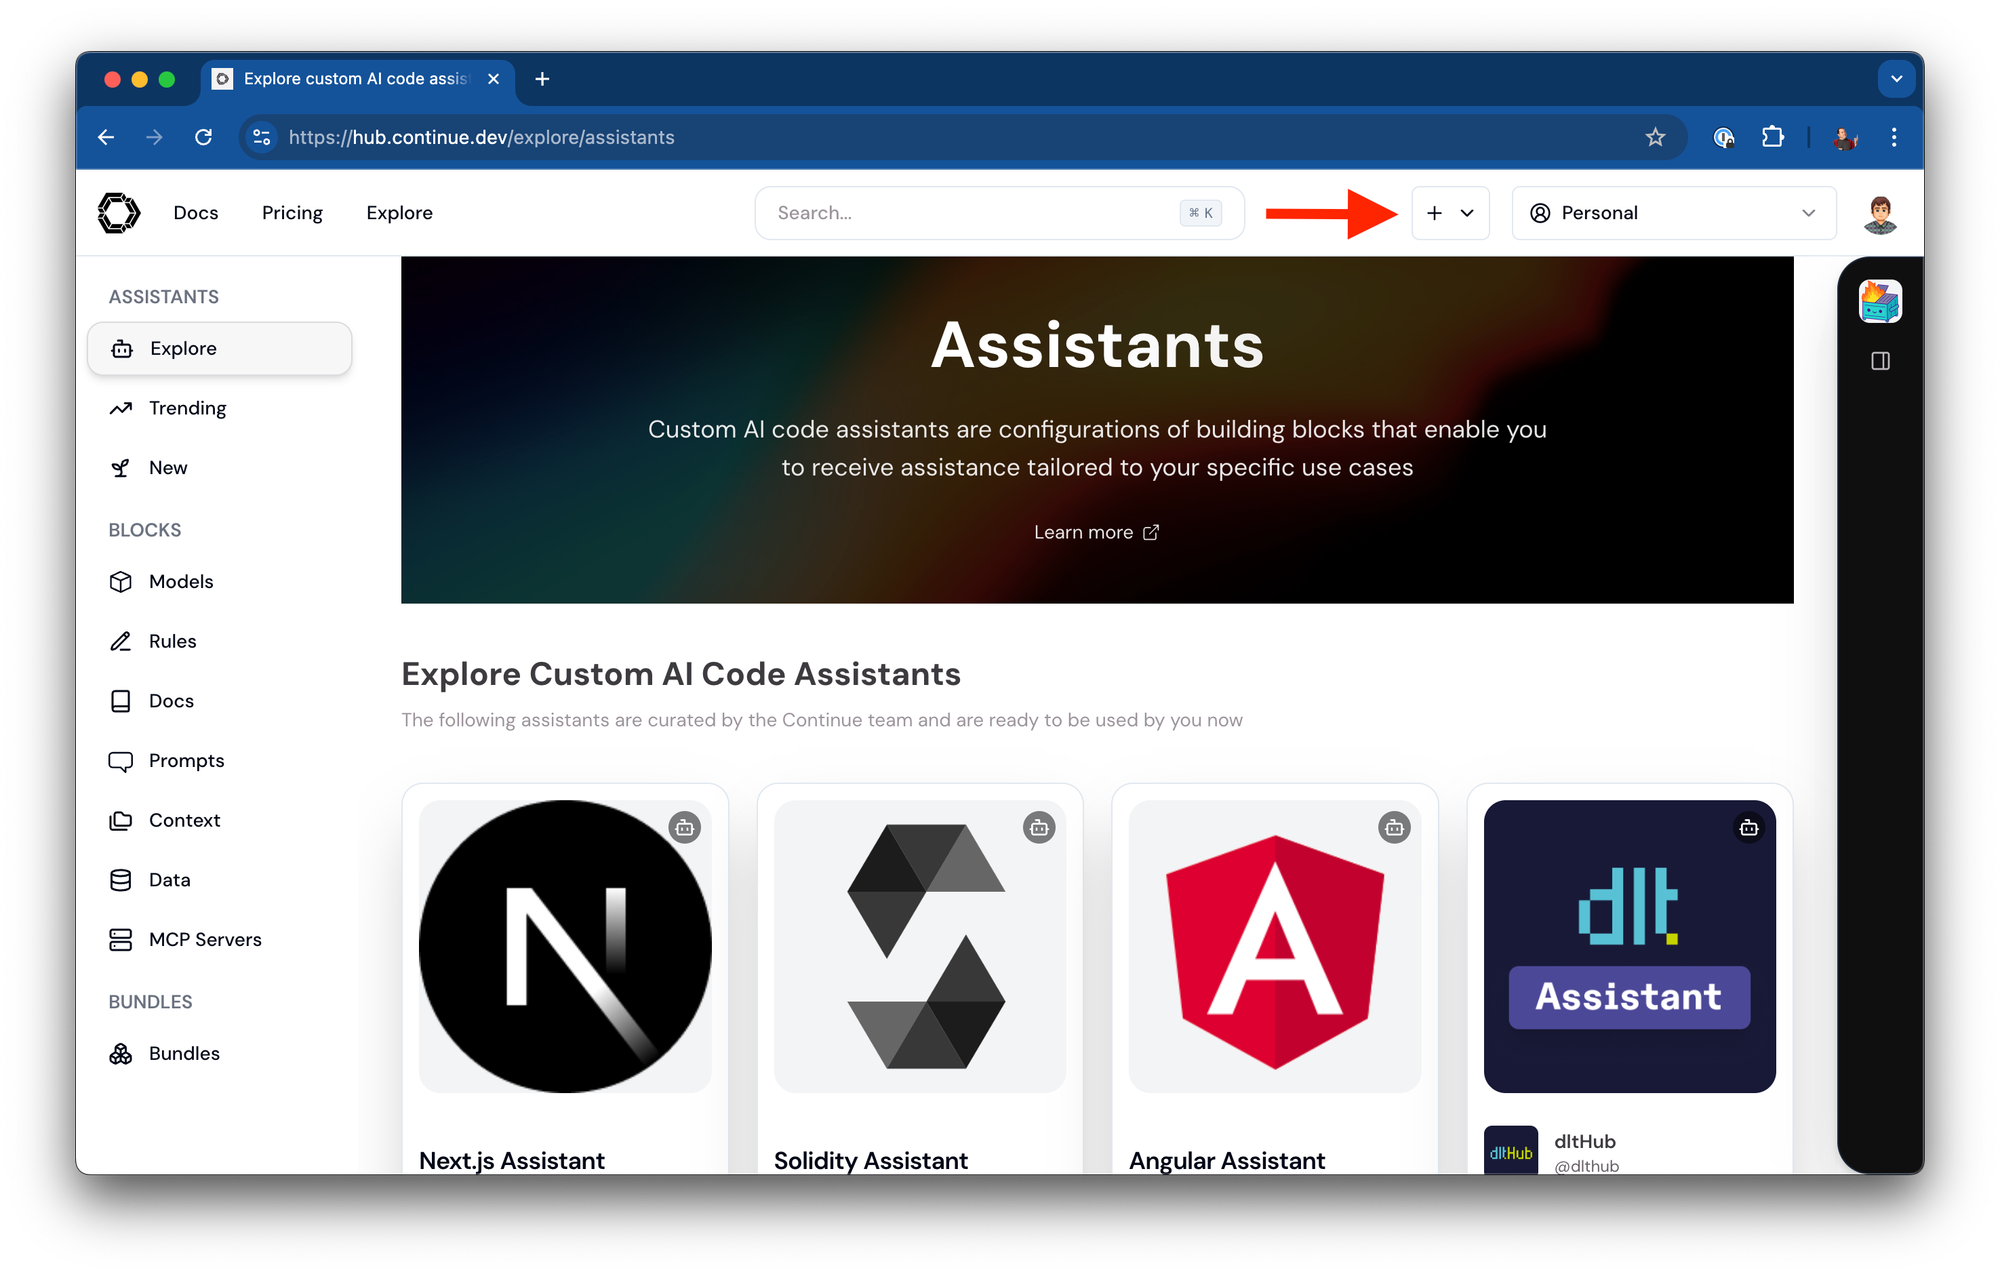
-
From your Continue Hub dashboard, click the "+" button to create a new assistant
-
Give your assistant a name (e.g., "Llama Local")
-
By default, Continue will populate some useful model blocks for you. You can:
- Delete these blocks if you don't need them
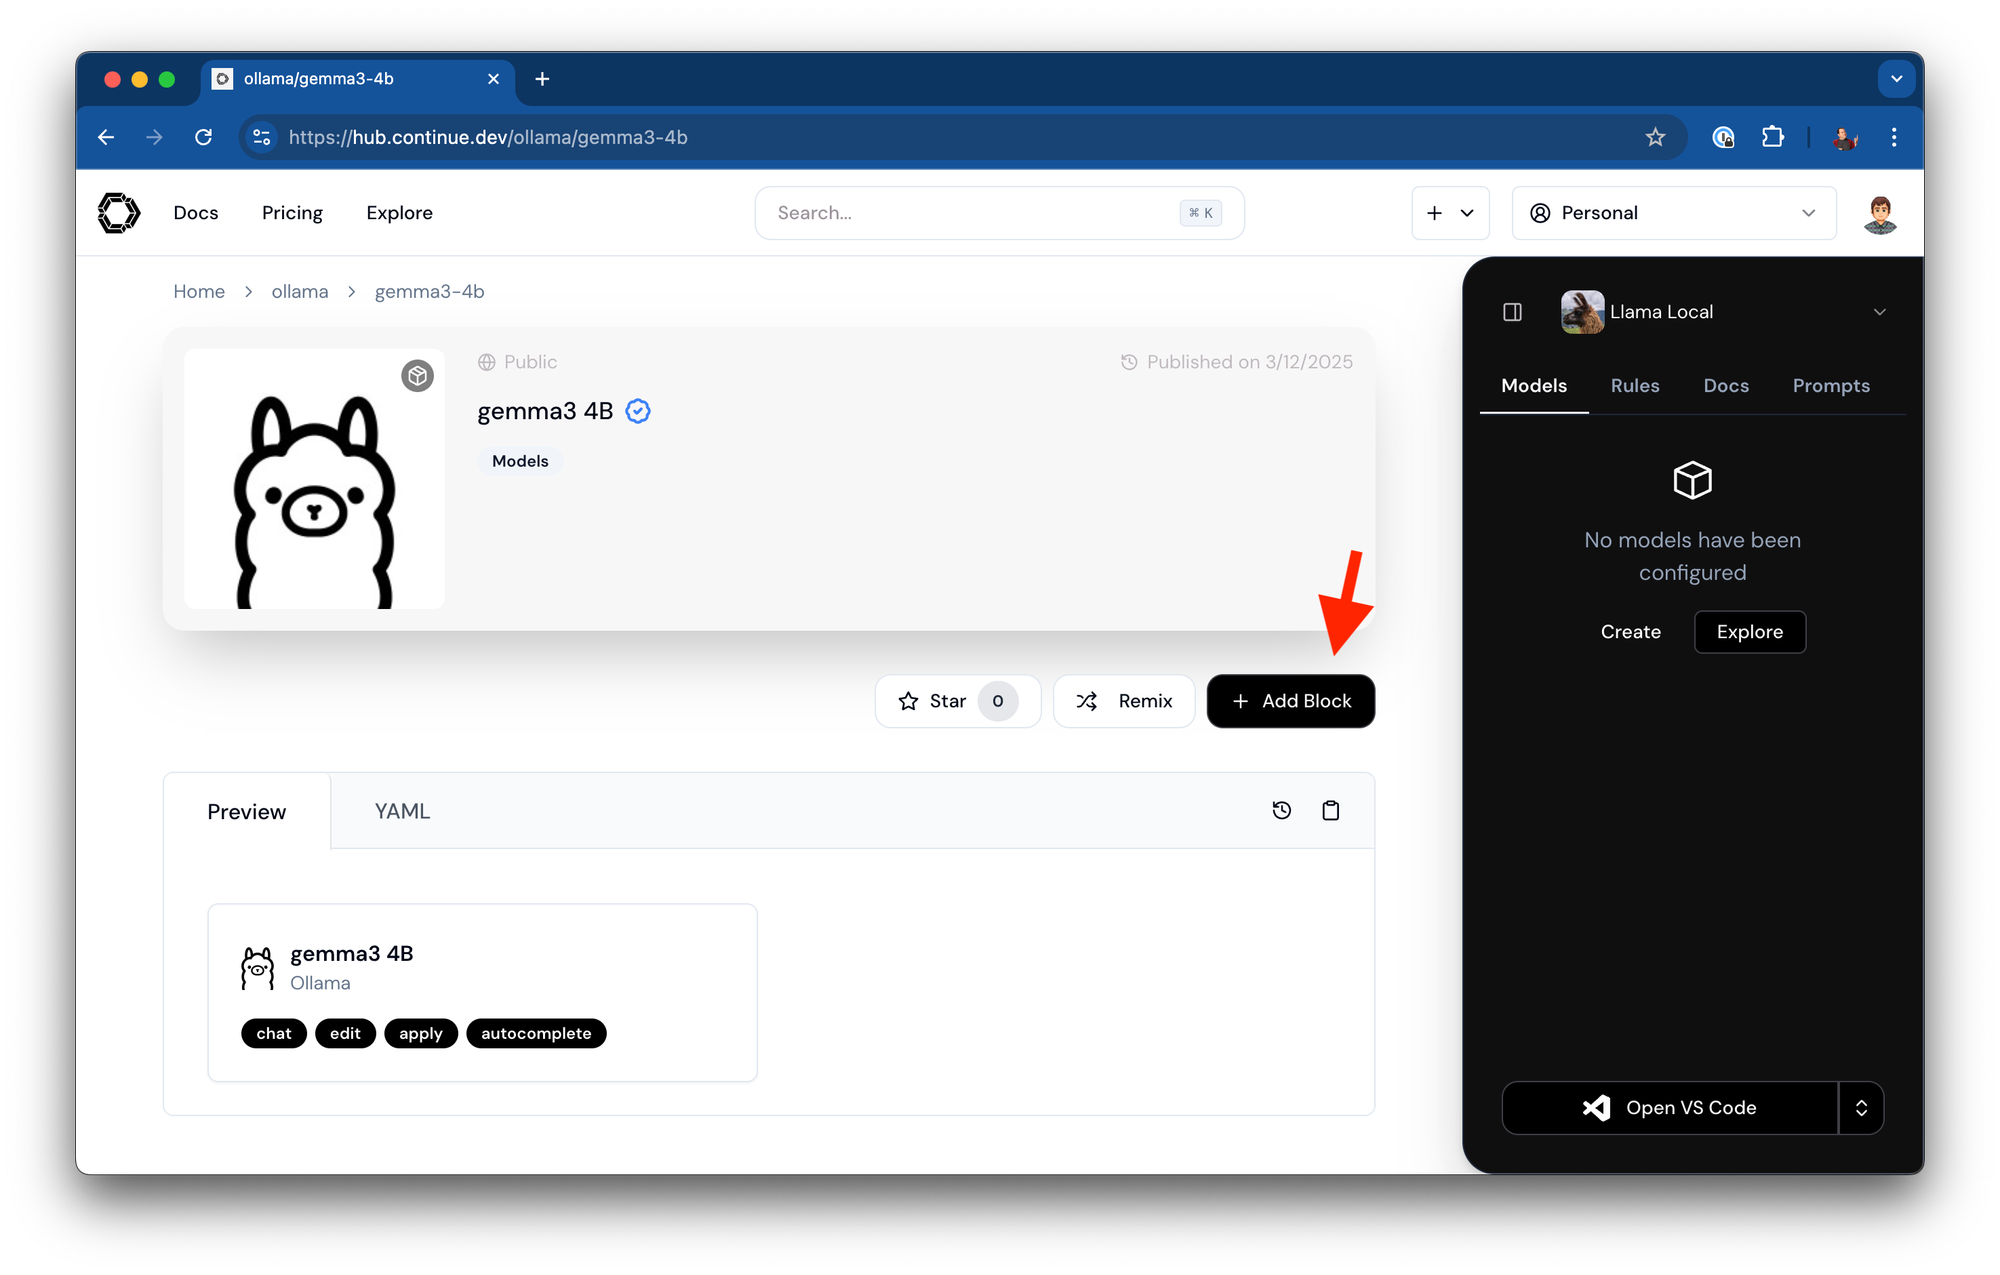
- Navigate to https://hub.continue.dev/ollama/gemma3-4b
- Click to add this block to your assistant
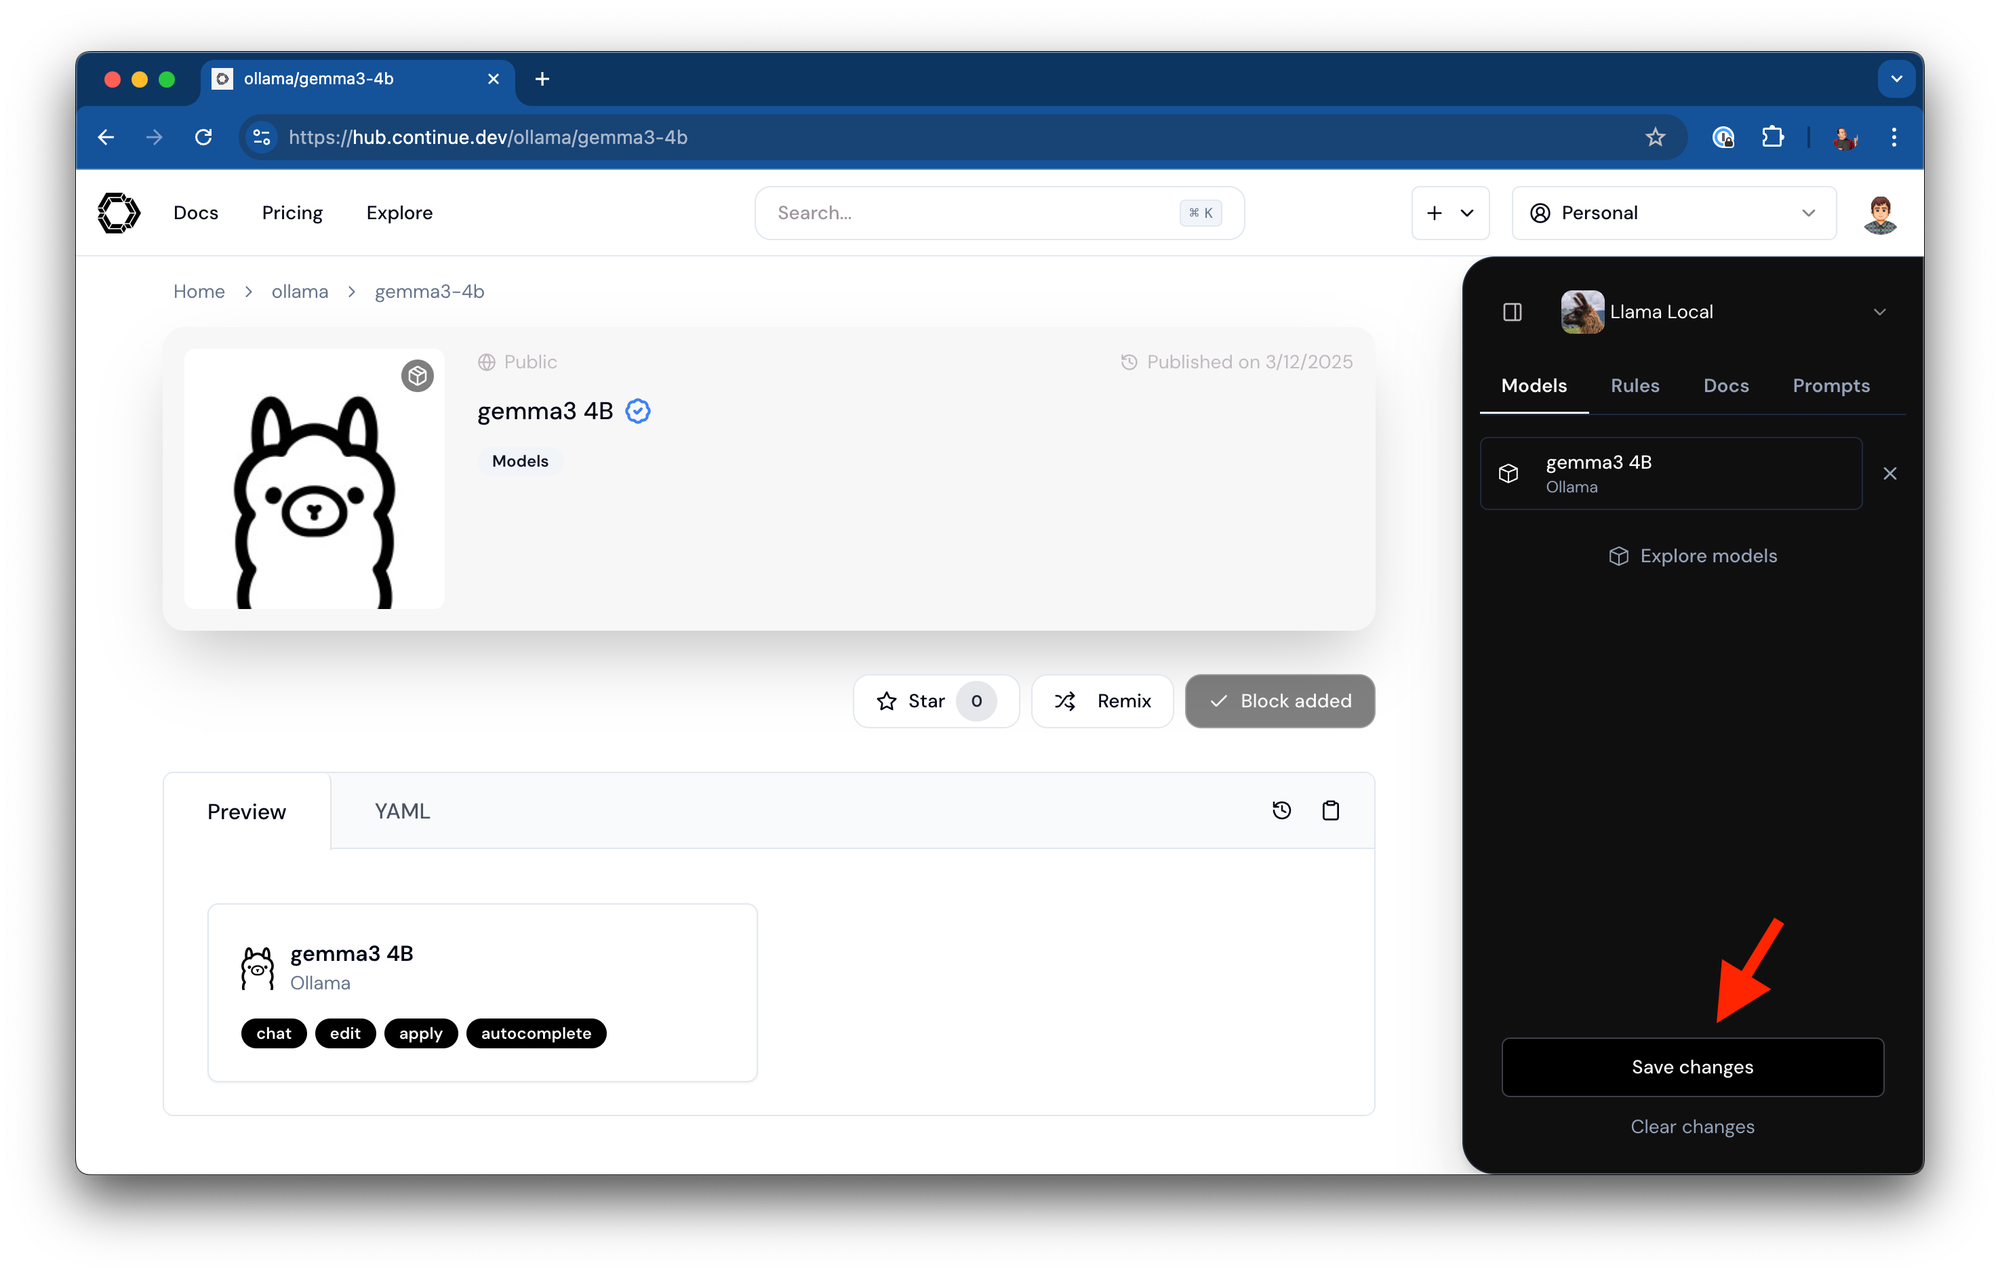
-
Save your assistant configuration
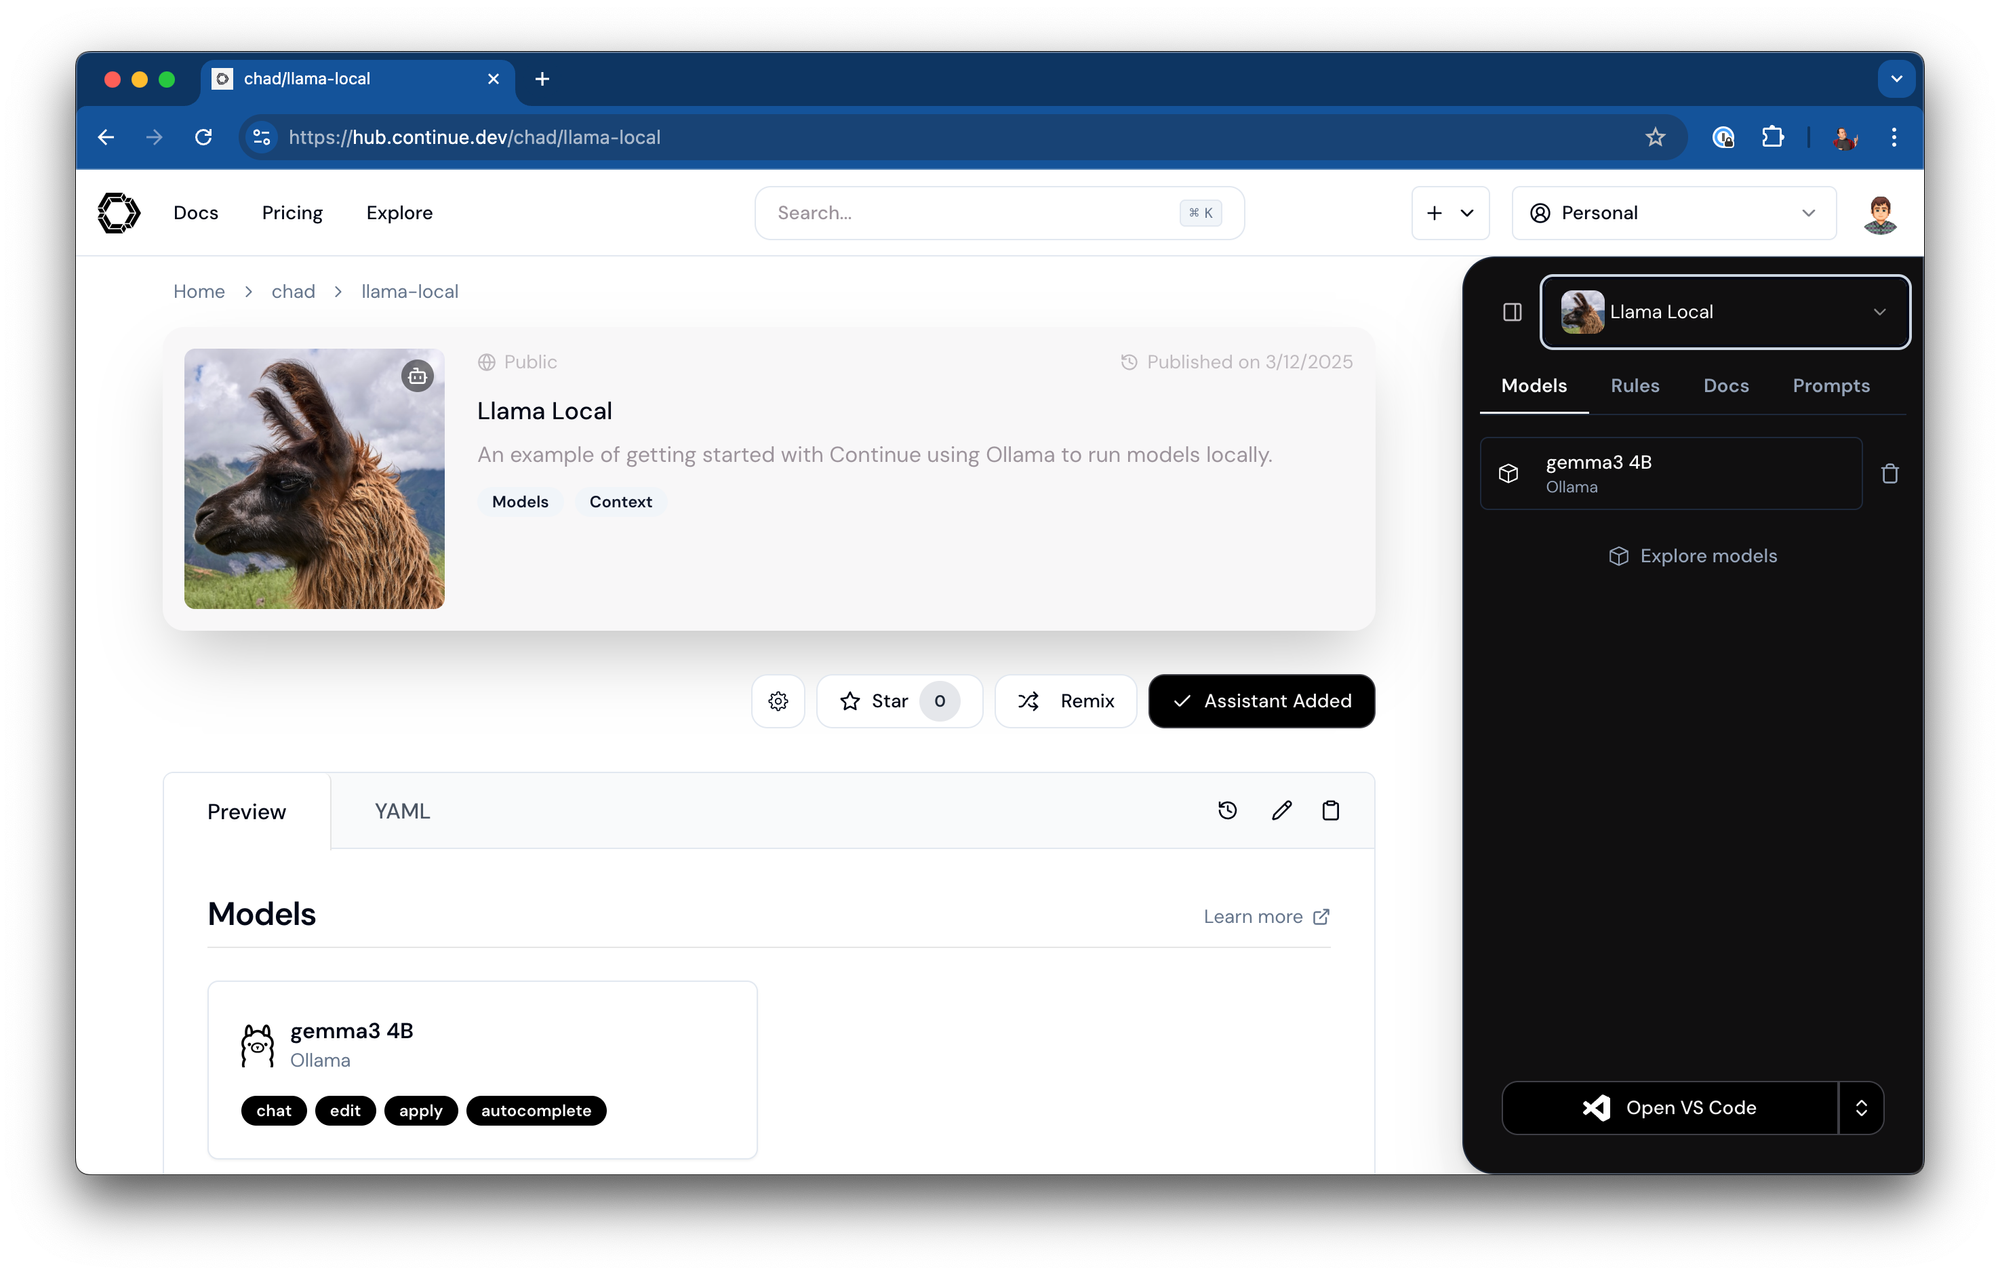
-
Your assistant will now be available at a URL like: https://hub.continue.dev/chad/llama-local
Step 5: Install and log into Continue in your IDE
-
Install the Continue extension for your IDE:
- For detailed instructions, see the official documentation
- Follow the installation steps for VS Code or JetBrains
-
Once installed, log into your Continue account
-
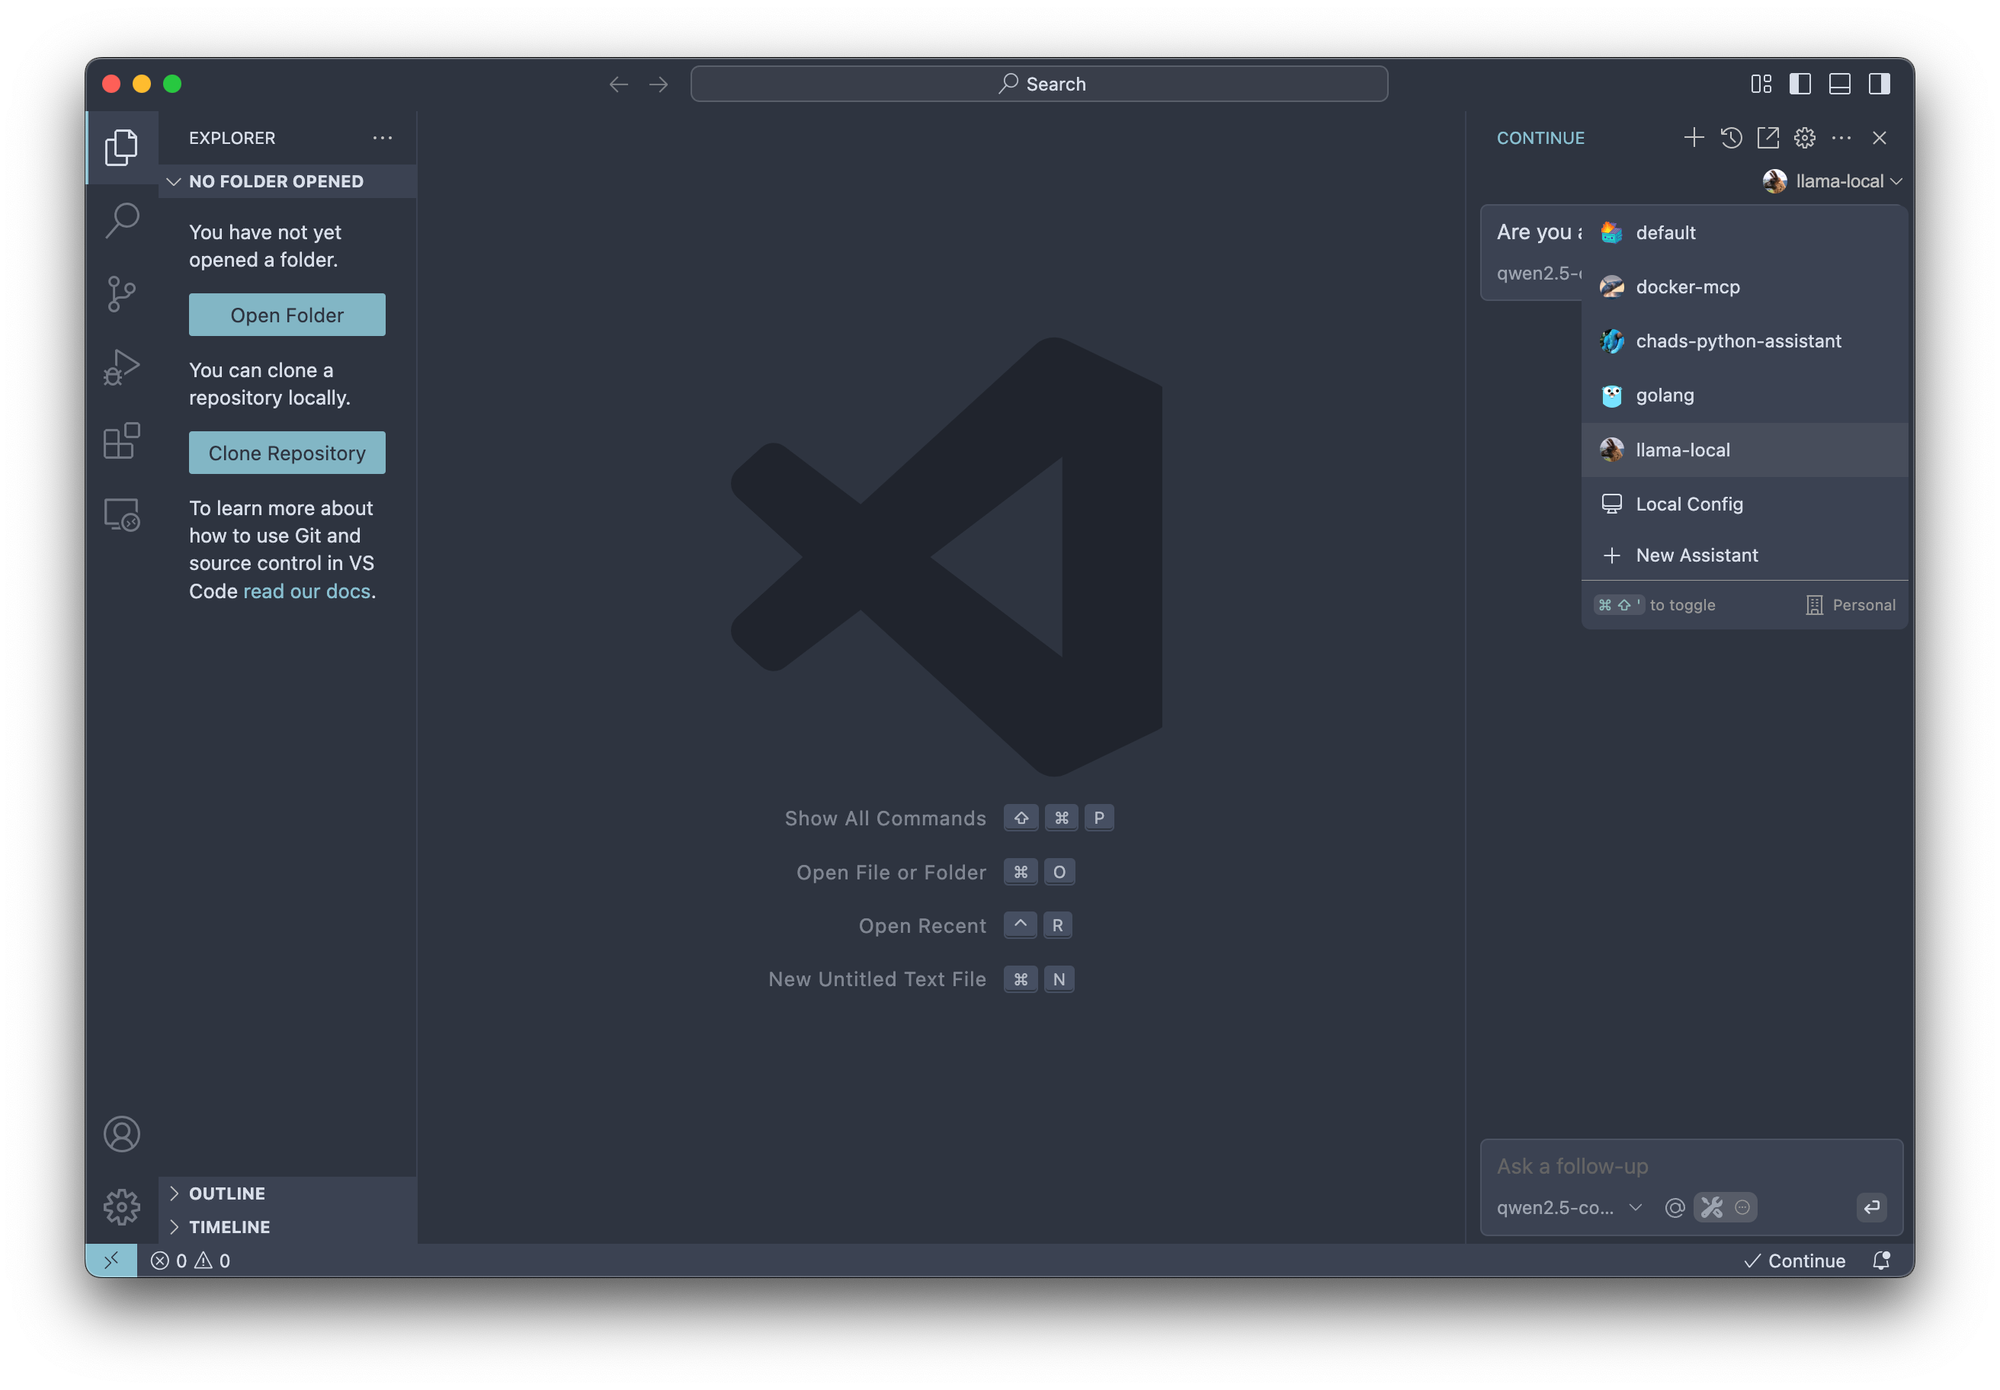
Access all of your assistants in the Continue IDE extension
Next step is customizing all the things
After setting up your assistant, you can customize it further:
- Rules: Define how your assistant should behave and what expertise it should have
- Additional models: Set up different model roles for different types of tasks.
- Other blocks: Explore all the different types of blocks on the Hub.
Conclusion
By combining Continue with Ollama, you've created a powerful, private, and customizable coding assistant that runs entirely on your machine. This setup gives you the benefits of AI assistance while maintaining control over your code and data.
As models continue to improve, you can easily upgrade your local setup by pulling newer models without changing your Continue configuration. Experiment with different models and settings to find the perfect balance between performance and capability for your specific hardware and workflow.
Happy coding!
Hardware requirements for different model sizes
Choosing the right model depends on your hardware capabilities. Here are general guidelines:
| Model Size | Examples | GPU VRAM Requirements |
|---|---|---|
| Small (1.5B-3B) |
Qwen-Coder-2.5 1.5B Qwen-Coder-2.5 3B |
<8GB VRAM |
| Medium (7B-14B) |
Mistral 7B Qwen-Coder-2.5 7B |
8-16GB VRAM |
| Large (32B+) |
DeepSeek R1 32B Qwen-Coder-2.5 32B |
24GB+ VRAM (Apple M4 Pro 64GB / RTX 3090 / 4090) |
Additional Hardware Notes
- Small models (1.5B-3B) will work on modern CPUs with 16GB+ RAM, though your mileage may vary
- For CPU-only usage, expect significantly lower throughput (1-5 tokens/sec)
- CPUs with integrated GPU cores (Apple Silicon, AMD Ryzen™ AI Max 300, etc.) perform well with appropriate unified memory and bandwidth
- Medium and large models become impractical without dedicated GPU acceleration
- Using quantization (4-bit or 8-bit precision) can reduce VRAM requirements by 2-4x but with some loss of accuracy
- Consider running smaller models with higher quantization precision rather than larger models with aggressive quantization
Apple Silicon Specifications
For Mac users, here's a breakdown of Apple Silicon capabilities:
| Chip | CPU Cores | Neural Engine Cores | Max RAM | Max RAM Bandwidth |
|---|---|---|---|---|
| M1 | 8 | 16 | 16GB | 68.25GB/s |
| M1 Pro | 8-10 | 16 | 32GB | 200GB/s |
| M1 Max | 10 | 16 | 64GB | 400GB/s |
| M1 Ultra | 20 | 32 | 128GB | 800GB/s |
| M2 | 8 | 16 | 24GB | 100GB/s |
| M2 Pro | 10-12 | 16 | 32GB | 200GB/s |
| M2 Max | 12 | 16 | 96GB | 400GB/s |
| M2 Ultra | 24 | 32 | 192GB | 800GB/s |
| M3 | 8 | 16 | 24GB | 100GB/s |
| M3 Pro | 11-12 | 16 | 36GB | 150GB/s |
| M3 Max | 14-16 | 16 | 128GB | 400GB/s |
| M3 Ultra | 28-32 | 32 | 192GB | 800GB/s |
| M4 | 10 | 16 | 32GB | 120GB/s |
| M4 Pro | 14-16 | 32 | 64GB | 280GB/s |
| M4 Max | 16-18 | 32 | 128GB | 560GB/s |